Revisiting Saudade

As part of our preparation for this tour of Saudade (which starts on Friday!) we were able to bring in photographer Liza Harbison to take some shots of the shadow puppets. Here are a few:


Five Firsts: Wit’s End Puppets in 2015

It’s been a busy year here at Wit’s End Puppets; a year filled with new work and new friends and collaborators! Here is a list of our top five ‘first’ moments from the year.

IMG_23095. First crankie!
Ever since I saw Katherine Fahey’s amazing crankies, I’ve wanted to tackle constructing one ourselves. It was a thrill to work with Katherine this year on our shadow play Saudade. 

IMG_2866

4. First Fringe show in way too long!
Our very first show using the name Wit’s End Puppets was back in 2010 for the Capital Fringe Festival. We had a wonderful time working with banished? productions on their piece I Thought the Earth Remembered Me for this year’s festival.

IMG_3313

3. First video shoot!
It was a whole new world for us, incorporating puppets into a gothic, lush set for a music video with She Monster Productions.

IMG_2329

2. First City Arts Project grant! 
We are thrilled that DC Commission on the Arts and Humanities decided to award us a grant to tour Saudade around the city in collaboration with the American Immigration Council and GALA Hispanic Theatre. If you would like to help support this tour and send us to even more places, you can donate here!

IMG_2606

1.First International performance!
Traveling to Winnipeg for the Winnipeg International Storytelling Festival was an amazing opportunity. We met so many incredible artists and teachers; people who work every day to help immigrants and refugees in Winnipeg. It was an honor to share our art with them and hear their thoughts and stories.

Here’s to a 2016 that’s just as rewarding and exciting!

So Many Changes

Like many artists, I am rarely satisfied with the first iteration of a project. After the performances of Saudade at the Intersections Festival, we had lots of conversations with audience members and each other about what could be clearer, stronger and more powerful in the piece. From puppet movement to sound, to crankie images, we examined each element of the project to see what could be improved.

Because we are going to the Winnipeg International Storytelling Festival in May, we have a deadline for completing all these fixes and it is getting close! Here are some photos of the work we’ve been doing:

IMG_2470

A new frame! We hope this will make everything a little more visible to the audience.

IMG_2479

Here, the fabric panels are coming together and the crankie is in place.

IMG_2480

We’ve added scenes to the end of the show. Here, Cecilia tries to manipulate three puppets with two hands.

The Long Saudade Crankie Saga

By far the most time-consuming part of building Saudade was the crankie which forms the bulk of the show. Additional images appear on the side screens, but most of the action happens on this very long roll of Tyvek in front of an LED light. It took nearly two months to design and cut out all the scenes on the crankie, and a week to put it all together. Here are photos from the process.

IMG_2300

Spacing the images is important and takes time.

IMG_2302

Amy and Genna work together to glue down an image.

IMG_2309

Each image gets sprayed with glue carefully. Sometimes it’s hard to keep different parts from sticking to each other before it’s glued down.

IMG_2307

The roll of Tyvek is longer than our box so we had to carefully measure and cut about six inches off the bottom of the entire roll.

IMG_2311

One of the many intricate images on the crankie.

IMG_2313

Delicate images wait on newspaper so they don’t get crushed before being added to the crankie. We took over most of the living room eventually.

IMG_2318

Most of the crankie images are cut from black Tyvek, but these included some silver tissue paper as well.

IMG_2319

Amy makes an adjustment before gluing down the final image.

IMG_2330

This is the final roll–nearly 3 inches thick!

IMG_2326

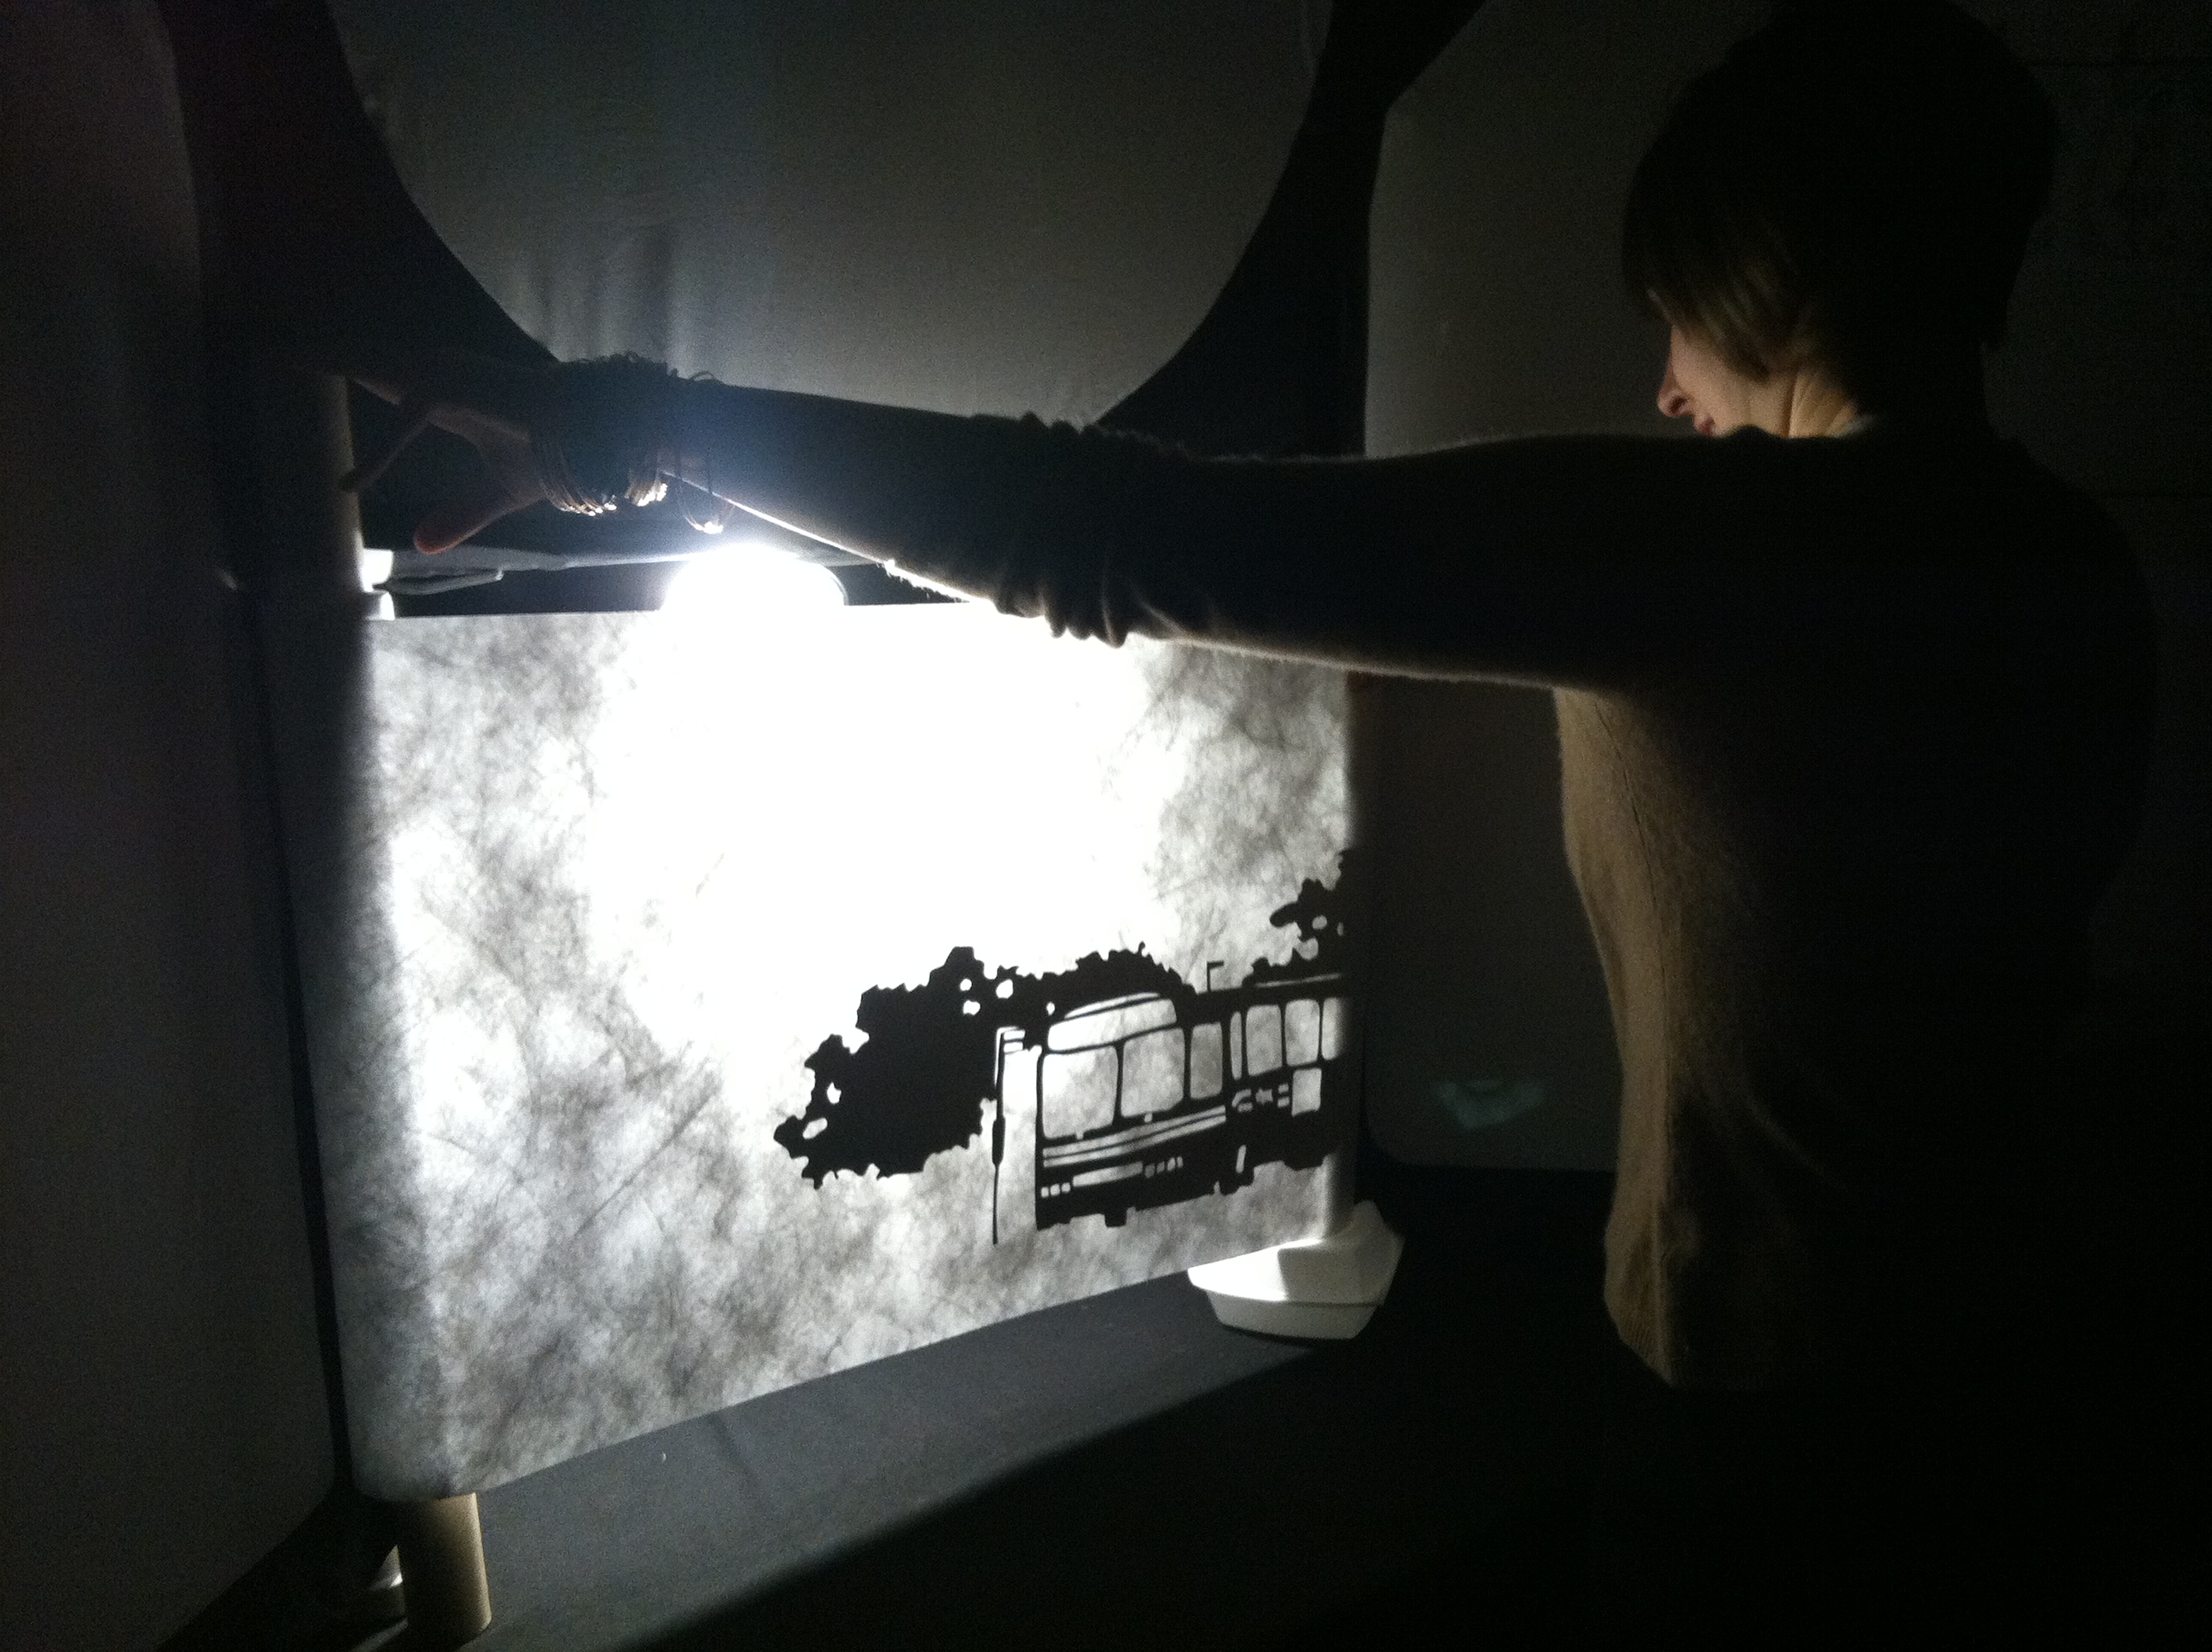
Our first rehearsal with the finished roll, testing the light and the box.

IMG_2322

Here’s what an image looks like from the reverse side…

IMG_2329And here it is in light! Hope you enjoyed this tour of the building process!


A Huge Thank You

IMG_2326

A first glimpse of our crankie!

Saudade would not have been created without the help and support of many, many people who agreed to be interviewed about their experiences as immigrants to the DC area. Some of these people also helped us record sound clips for the show; others contributed their memories, stories of challenges they have faced and of course, moments of saudade. For reasons of privacy, we are only identifying people by their first names, but we want to acknowledge everyone and say a huge thank you for your help!

Sonia – Stephanie – Eiko – Sebastian – Ruth – Santiago – Ana – Juliana – Ottoniel – Eddy – Victor – Juan – Seare – Yolanda – Yanira – Oscar – Anamaria – Fernando – Nurya – Alexei – Genevieve – Grimaneza – Cintia – Rosario – Miguel – Svetlana – Nurbiya – Benta – Souad – Natalia – Hoummad – Noelya – Marisabel – Julio – Zohar – Emi – Diego – Johanna – Andrea – Doyoung – Fabiola – Artemis – Savana – Erick – Emma – Victoria – Omar – Arie – Susana – Medina – Amanda – Mehdi – Rashad – Sandra – Birol

Building SAUDADE #3

Building puppets is usually a painstaking process and even more so with shadow puppetry. The tiniest details make a huge difference and (at least for me) there is  a lot of agonizing over whether or not a silhouette will make sense to the audience. For Saudade, much of the action happens on a crankie, a long roll of paper with black silhouettes of settings and characters. Creating the silhouettes for this involves several steps:

IMG_2212

1. Set up this opaque projector so I can play with the size of the image. The taped out square is the size of the screen.

IMG_2214

2. Project the image and fit it to the screen. This only works when it’s dark out, meaning I do a lot of this very late at night, after rehearsal.

IMG_2215

3. Trace the image in white pencil onto black tyvek, which is very thin but strong paper that won’t tear easily. Important when you have so many tiny little details!

IMG_2245

4. Cut out the image! Now it’s ready to go onto the background roll and eventually into the crankie.